First Steps
Register and login
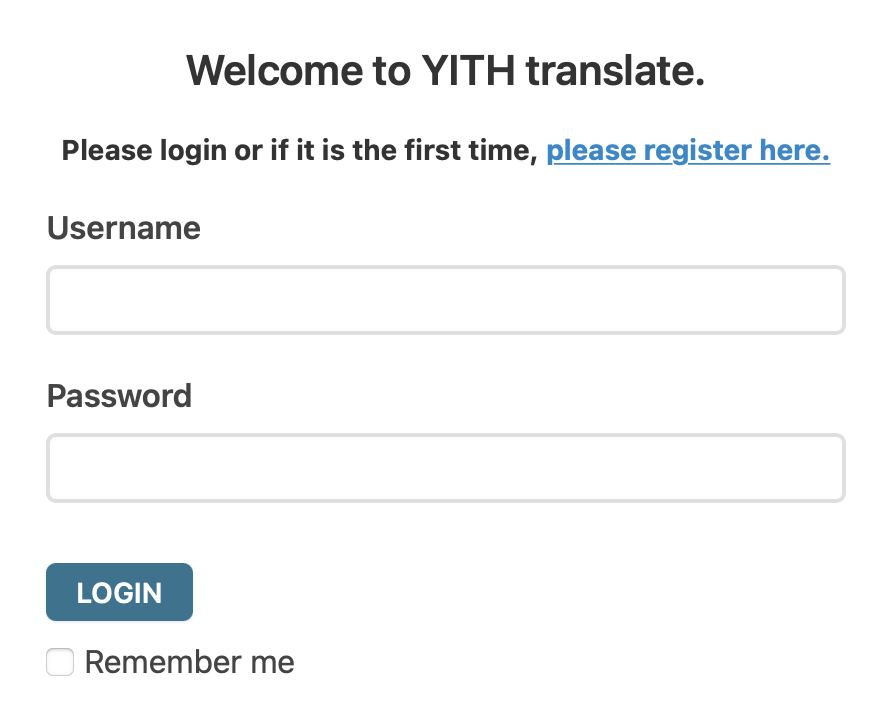
First of all, visit this page: translate.yithemes.com.
You have to register an account here, so click on Login on the screen’s top right and then on Register. You will be asked to complete a quick registration form, and after that, your registration is completed. You will get a confirmation email into your inbox, but you’re ready to start.
Start translating
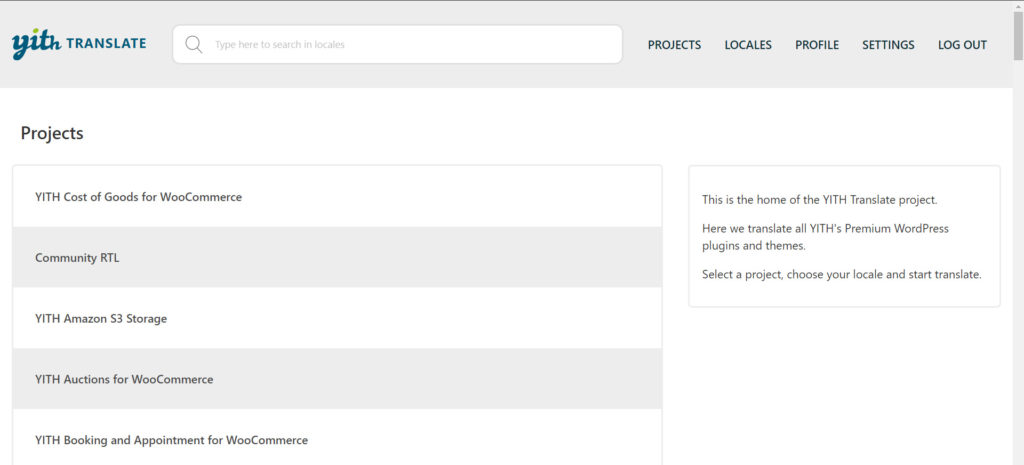
Visit translate.yithemes.com again and click on Projects in the menu at the top. Now select the plugin you want to translate, for example, YITH Auctions for WooCommerce.
On the next screen, you can see a table of locales (languages). Once a plugin is fully translated, you will find a 100%-label next to the locales name. Besides the locales completeness, you will also find the total amount of translated, fuzzy, untranslated text strings and those submitted but are waiting for approval by a Project Translation Editor (PTE) or an admin.
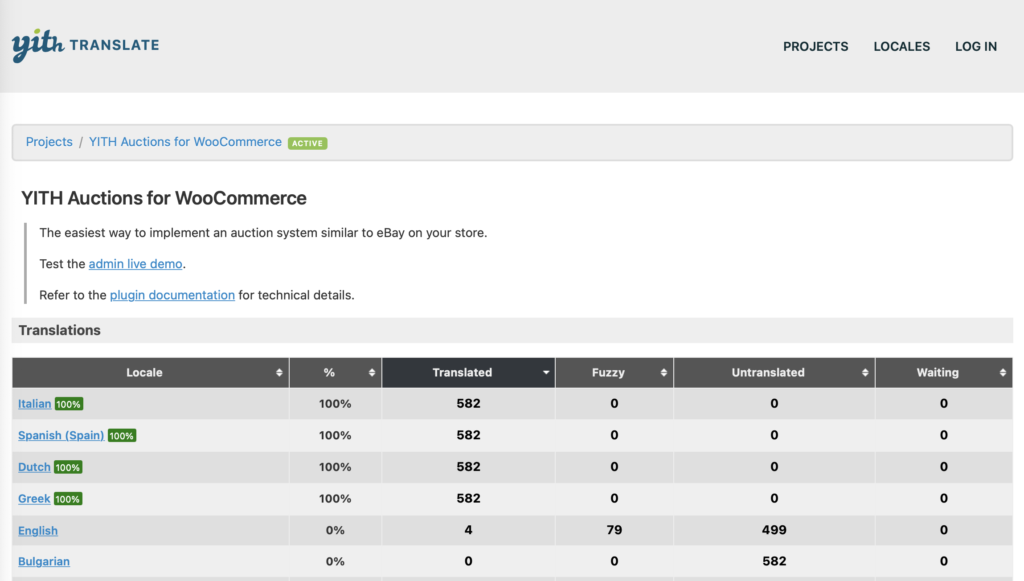
Now go ahead and select the locale you want to work on.
If your target language contains multiple locales, make sure you also select the right variation. For example, if you want to translate into Mexican Spanish, you’ll have to select Spanish (Mexico).
The translation editor
The translation interface itself is minimal and easy to use. You can double click on the first text string to open its editor box.
You will see the original string on top, a box where you can enter your translation, a button to copy the text from the original, and the “meta” section with some useful additional information:
Status: This shows the current string’s status and indicated if it has been translated before. In this case, the name of the contributor will appear here as well.
Context: Here, you find additional text provided by the plugin developer to understand the context where the text appears. Strings can also contain placeholders like %s. Make sure to include them in your translated version, as they get replaced by WordPress when the plugin is used.
Date added: Date of the latest translation added.
References: Here, you see the file name where the text string appears.
Priority of the original: high, normal, low. This will be reflected in the first column on the left of the table as well.
In the Meta section, you will also find two links:
Permalink to this original: This allows you to link this specific string so it will be easy to share it with any other contributor, PTE, or admin and refer to the exact text you may want to talk about.
All translations of this original: This shows a list of all translations for this text, both approved and rejected.
After double-clicking on a given string, you can either add your own translation or edit and improve a pre-existing one. After you are happy with your translation and double-check it for mistakes, you can click on Suggest new translation to submit the new translation. Until approved by a PTE or an admin, it will remain in the waiting status.If some of the strings have been translated and others haven’t, you can clear your view by filtering strings by clicking on Untranslated.